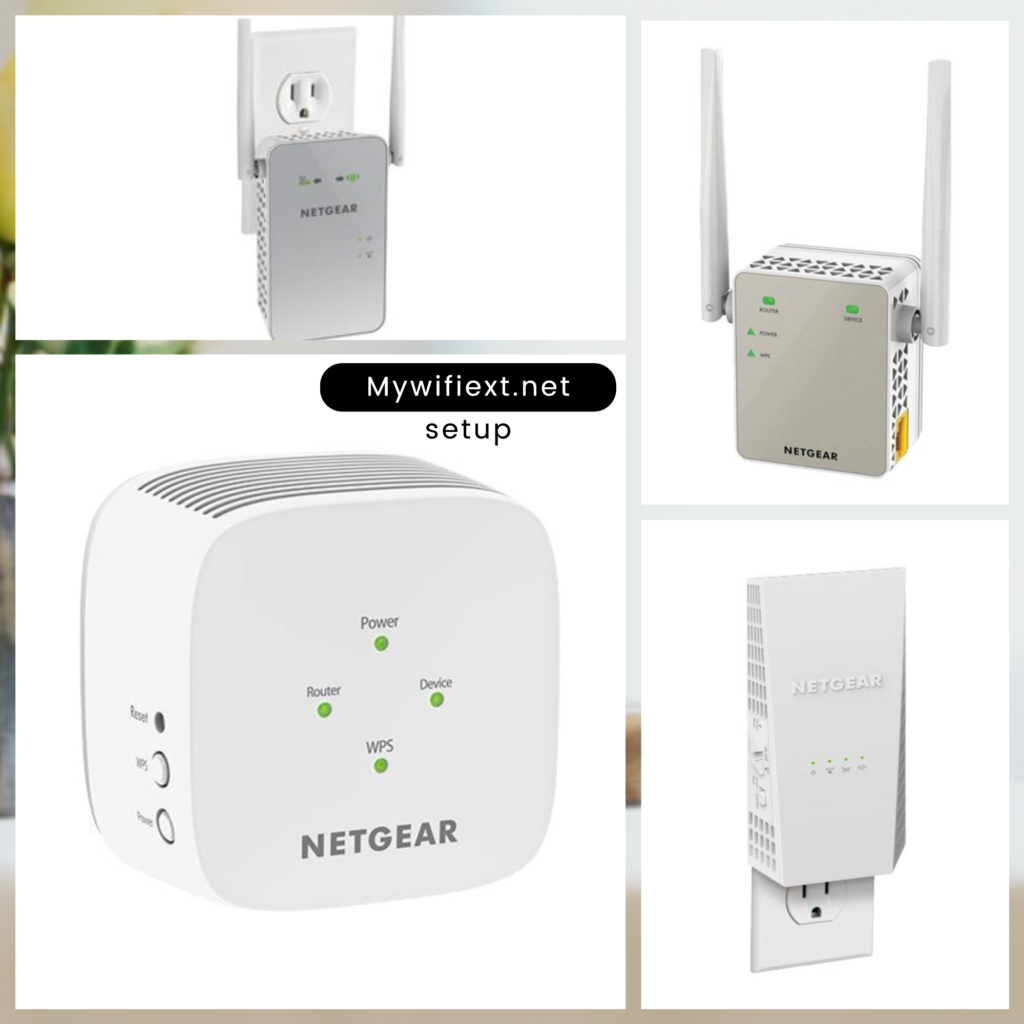

What is mywifiext?
mywifiext.net is a local configuration address for Netgear WiFi extenders. It is not a public website— it only loads when your phone or laptop is connected to the extender’s temporary network NETGEAR_EXT (or via Ethernet into the extender). On Apple devices, use mywifiext.local.
Addresses that work with Netgear extenders
Local setup URL (Windows/Android/most devices)
Local setup URL for macOS / iOS
Default IP for the extender’s web UI
Tip: These addresses work only when you’re on the extender’s network or physically wired to it. They will not open over your regular internet connection.
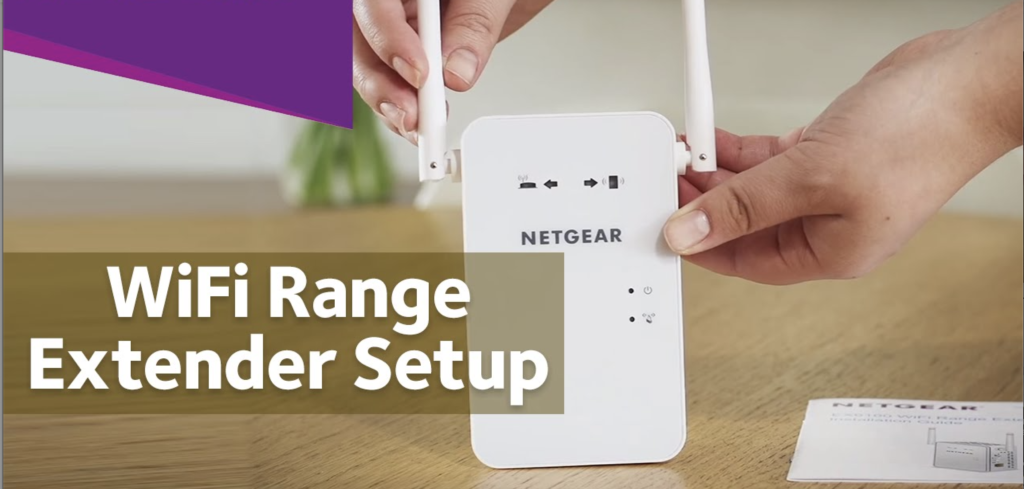
Setup Methods
1) Web Browser (mywifiext)
- Plug the extender near your router and power it on.
- Connect your phone/laptop to NETGEAR_EXT.
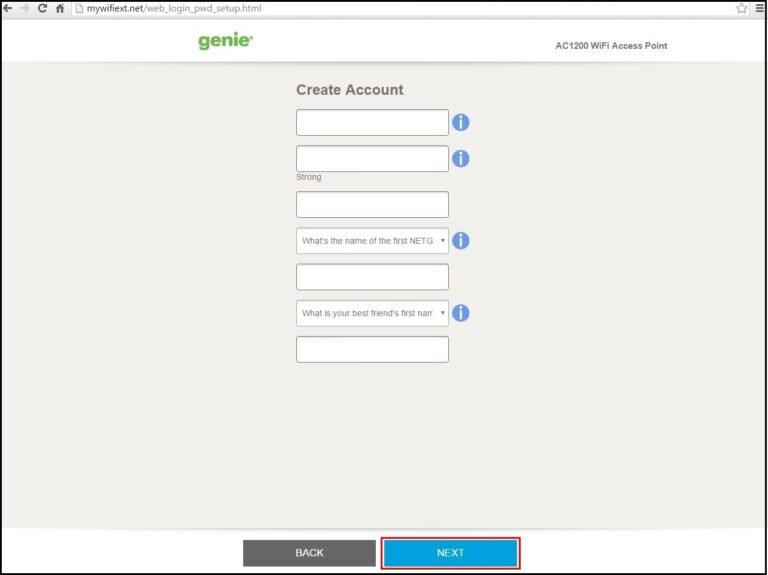
- Open a browser → visit mywifiext.net (or mywifiext.local / 192.168.1.250).
- Select New Extender Setup, create admin credentials.
- Pick your main WiFi → enter password → choose extender SSID (e.g., Home_EXT).
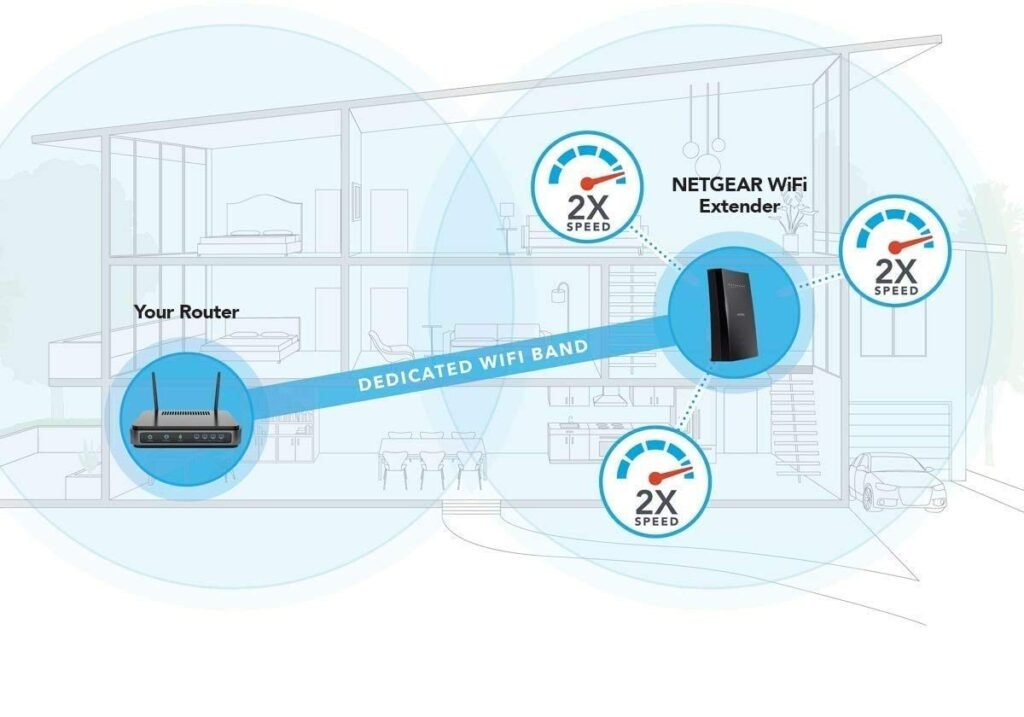
- Finish → move the extender to a midpoint between router & dead zone.
2) WPS (one-button)
- Power on extender. Press the WPS button on the extender.
- Within 2 minutes, press WPS on your router.
- Wait for a solid connection LED. Repeat for 5 GHz if it’s dual-band.
3) Ethernet Assist (routers without WPS)
- Connect the extender to the router with an Ethernet cable.
- Browse to 192.168.1.250 → run the setup wizard.
- After setup, disconnect Ethernet and place the extender optimally.
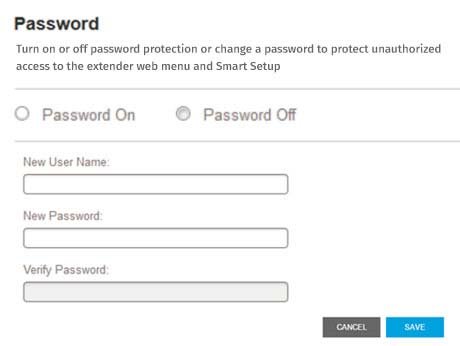
What you can do in the Netgear dashboard
- Rename the extender SSID and change passwords.
- Switch between 2.4 GHz / 5 GHz, enable guest WiFi.
- Update firmware, view connected devices, and manage access control.
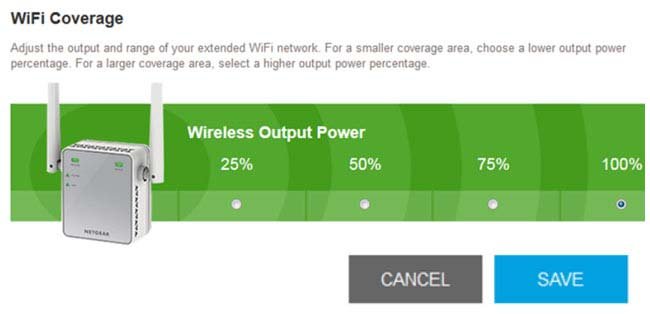
- Adjust coverage/Transmit Power to reduce overlap with the router.
Troubleshooting (quick fixes)
| Issue | Likely Cause | Fix |
|---|---|---|
| Can’t access mywifiext.net | Local URL, not public internet site | Connect to NETGEAR_EXT → try 192.168.1.250 → clear cache/incognito |
| Login not working | Wrong SSID or cached credentials | Join NETGEAR_EXT only → clear cookies → retry |
| Extender drops frequently | Outdated firmware / bad placement | Update firmware → move extender to midpoint → reduce interference |
| Orange/amber LED blinking | Weak backhaul / link issue | Reboot both devices → re-run setup → try different outlet or band |
| Genie/Nighthawk app can’t find device | Phone not on the extender’s SSID | Connect phone to NETGEAR_EXT first → reopen app |
| Stuck on setup page | Browser DNS/cache or DHCP lease issue | Incognito → different browser → toggle WiFi off/on → retry IP |
One-minute resets that solve most issues
- Power-cycle router and extender (turn off 20 seconds → on).
- Forget WiFi network on phone/PC → reconnect cleanly.
- Move extender one room closer to the router and test again.
Safe firmware update
- Login at mywifiext.net / 192.168.1.250.
- Go to Settings → Firmware Update → Check.
- Apply update → wait until it reboots fully (don’t unplug).
Important: Only use official firmware. Interrupting an update can corrupt the device. If it fails, factory-reset and try the update again.
Factory reset & hidden SSID
Factory reset
- Ensure the extender is powered on.
- Press and hold the recessed Reset pin for ~10 seconds.
- Release → wait for LEDs to stabilize → set up again via mywifiext.
Connecting to a hidden SSID
- During setup, choose “Other…” or “Hidden network”.
- Manually type your router’s SSID and exact security type.
- Enter the correct password → complete the wizard.
LED meanings (quick reference)
- No LED: device off / no power.
- Solid green/white: normal, ready.
- Solid amber/orange: booting or weak link.
- Blinking: WPS in progress or firmware activity; rapid blink after update may indicate corruption—reset and retry.
Genie vs Nighthawk app
Legacy app for setup, device view, quick diagnostics on supported models.
Newer app on modern routers/extenders; cleaner onboarding, remote controls, speed tests.
Either app can assist initial onboarding. If one doesn’t detect your extender, try the other—or use browser setup via mywifiext.
Popular extender models (2025)
| Model | Speed class | Bands | Setup options |
|---|---|---|---|
| EX6120 | AC1200 | Dual-band | Web, WPS |
| EX3700 | AC750 | Dual-band | Web, WPS |
| EAX20 | Wi-Fi 6 | Dual-band | Web, WPS, App |
| EAX80 | Wi-Fi 6 Mesh | Tri-band | App, Web |
Security & performance best practices
- Use strong, unique passwords for both router and extender.
- Prefer WPA2-AES or WPA3 if available; disable WPS after setup.
- Separate SSIDs (e.g., Home & Home_EXT) can reduce roaming confusion on older phones.
- Update firmware periodically and keep the extender in open air (not behind TVs or inside cabinets).
FAQs
Why doesn’t mywifiext.net open?
It’s a local address that only loads when you’re connected to the extender’s network. Join NETGEAR_EXT or use 192.168.1.250.
Can I set up without mywifiext?
Yes. Use WPS (one-button) or temporarily wire the extender to the router via Ethernet and run the web wizard from 192.168.1.250.
What if the LED is orange?
It usually means a weak link. Move the extender closer to the router, or switch bands (2.4 GHz for range, 5 GHz for speed).
Genie app can’t detect my extender—now what?
Ensure your phone is on NETGEAR_EXT, then relaunch Genie. If still failing, try the Nighthawk app or browser setup.
Is WPS secure?
It’s convenient for first setup. For best security, disable WPS afterward and use WPA2/WPA3.